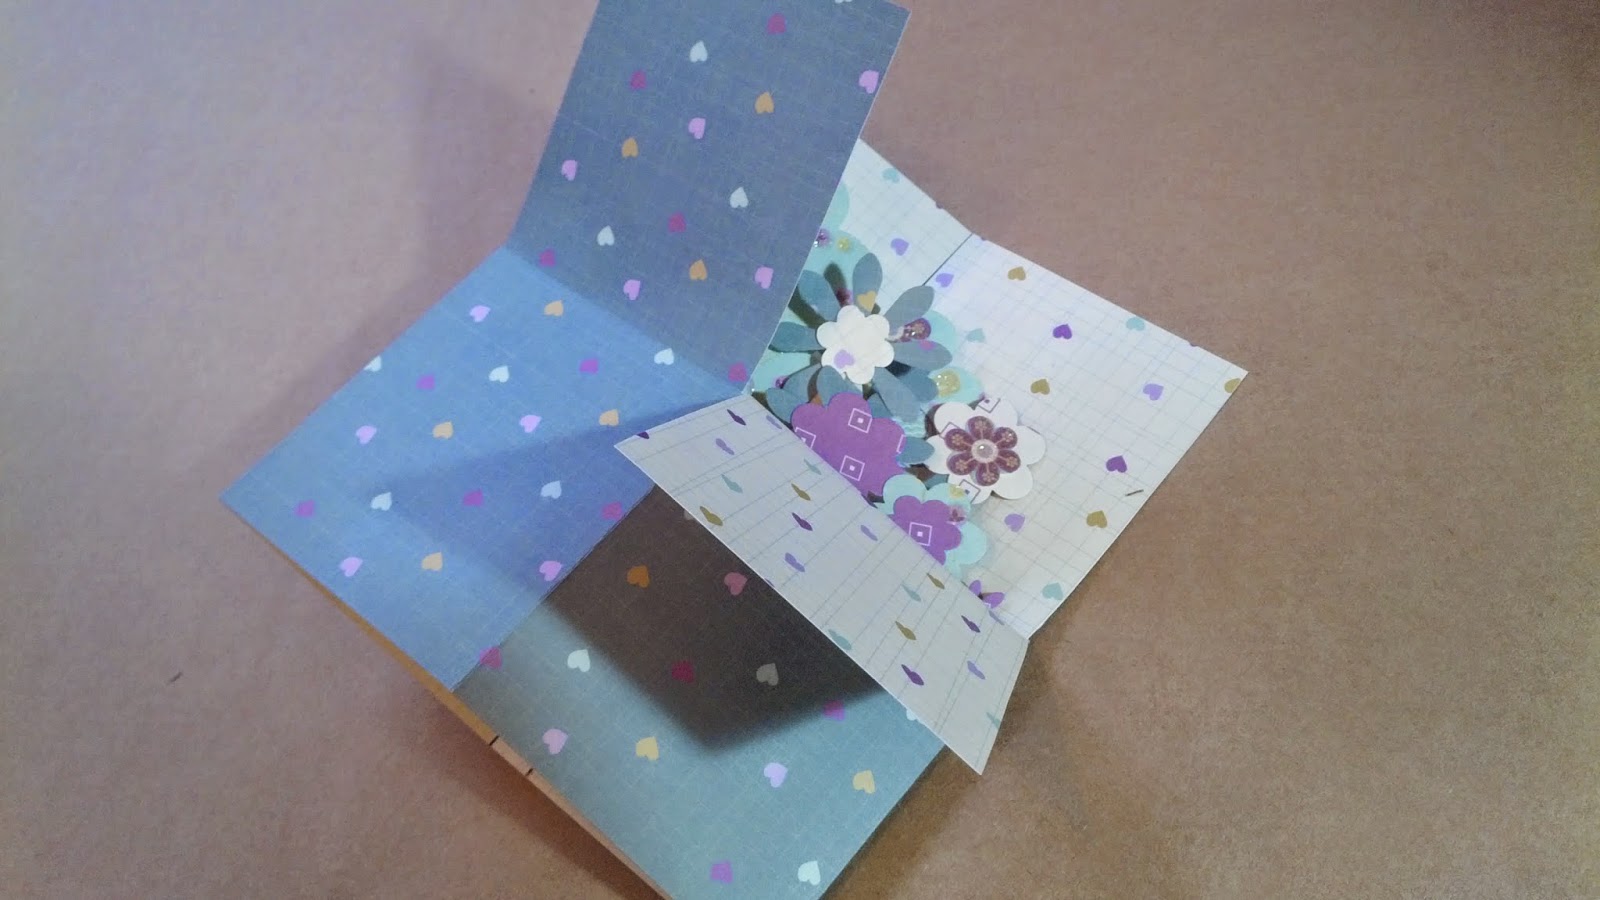
Exploding pop-up card
Step 1 - For this tutorial I started with a 12x12" sheet of double sided scrapbook paper. I firstly cut down my sheet to 29x15cm. I put the rest to one side ready for later on. Next you need to mark out 4 lines 7cm apart, this will leave a 1cm strip at the end. (I have used pen here so you can see, I suggest that you just score the lines as you will need to score them anyway. If you need lines maybe use a pencil)
Step 2 - Fold along each of the lines you drew in step 1.
Step 3 - mark 15cm down the vertical edges. Join these marks up although do not score through the section closest to the 1cm strip. (see image above)
Step 4 - Cut down each of the 4 vertical lines down as far as the middle line your scored in the last step. You can also cut out the top section of the narrow strip all together (this will be your tab)
Step 5 - Cut out 3 strips of 9x5cm paper
Step 6 - Mark 1cm in from both sides and fold like the above image.
Step 7 - Choose which side you don't want to see and put a strip of double sided tape along the top.
Step 8 - Attach your flowers, stems and leaves. You will need to make sure they are all facing away from you as you are working on the reverse of your design.
Step 9 - Once you are finished attach a scrap of paper on top of the remaining tape so that it doesn't stick to something it shoudn't later on.
Here is the front for one of my panels.
Step 10 - place a strip of double sided tape along the left tab of one of your panels. This needs to be a panel with the most height as this will be at the back of your card.
Step 11- Attach your panel, face down so the tab sticks approximately 1cm from the right edge of the second section in from the right. The top of your panel needs to be level with the middle line you scored.
Here is the panel folded back on itself.
Step 12 - Repeat the last step with the next two panels. I have put the front panel a little lower to hide the panels behind.
Step 13 - Attach double sided tape to the right side of each of your panels and the tab from your larger piece of paper.
Step 14 - Well fingers crossed this will work alright! You need to fold the larger piece of paper in half. The panels inside will stick to the top section and the main paper tab will also stick to the top.
Now you can fold down three of the side panels (not the one that you didn't score, this is the back panel)
Here is the box opening up.
Ta Da! I haven't quite finished this one yet, I still have the side panels to decorate but I'm getting there!


No comments:
Post a Comment