Sunday, 19 October 2014

3d pop up flower tutorial

Well Hi-di-hi there lovely readers!   I do hope you have been enjoying your weekend.  We had such a lovely day wandering around the beautiful grounds of Mottisfont House, if any of you haven't been but live near Southampton it is a total must!  Their Christmas extravaganza (the Nutcracker) is something we are all very excited about if last years events is anything to go by!


Here are my little cherubs running on the lawn with the football!  Such a beautiful day!

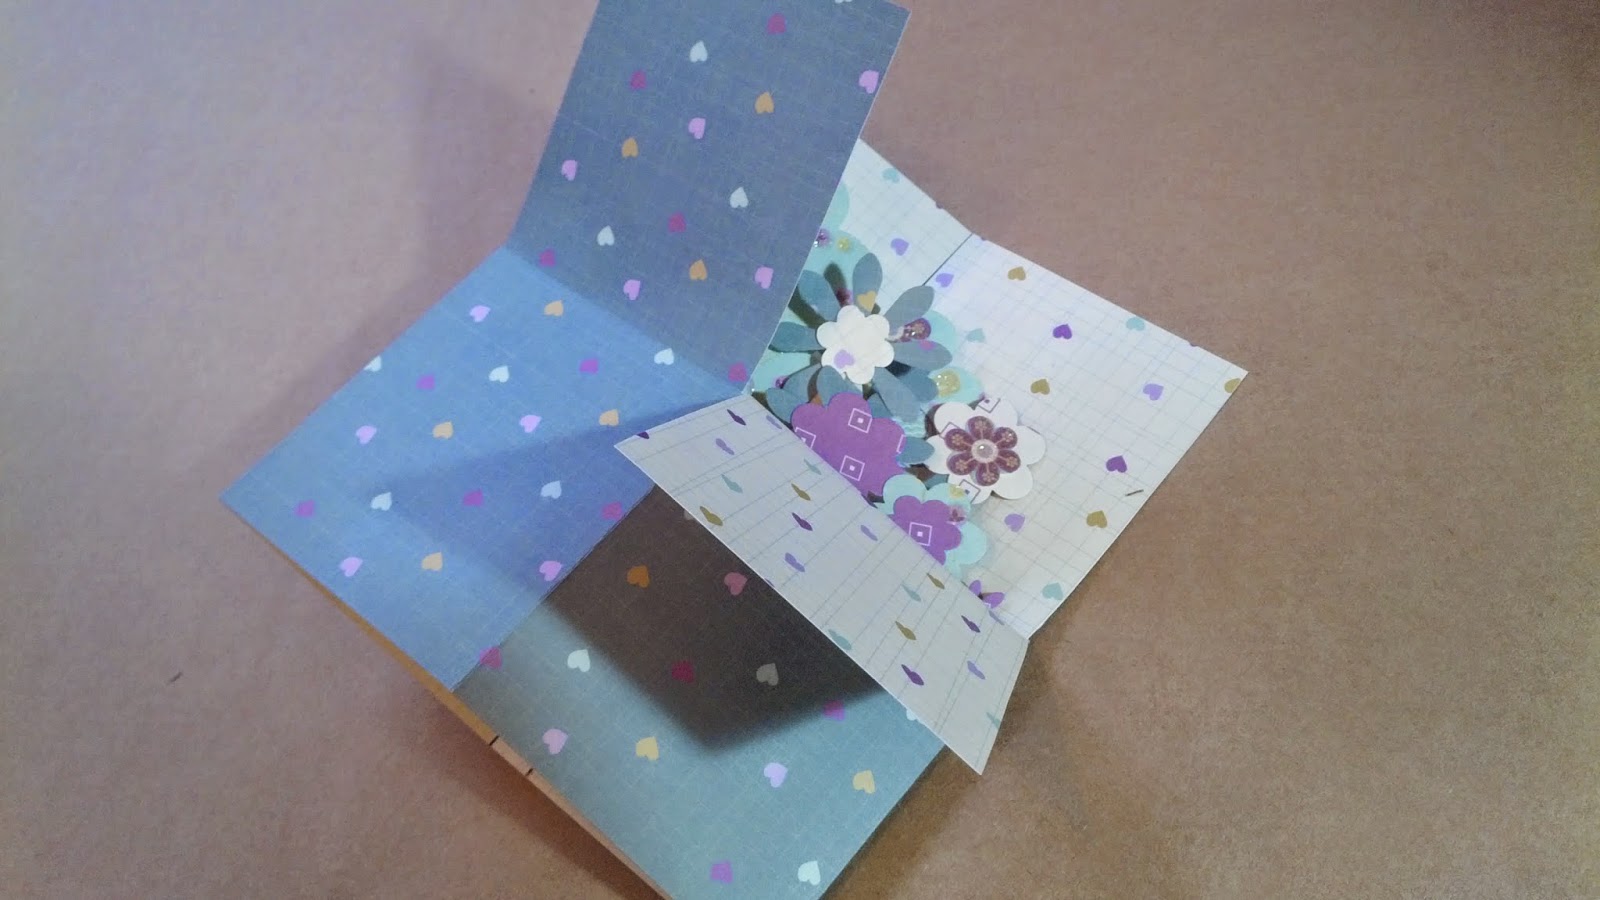
Now as much as I could bore you all endlessly with National trust photos I thought I would share a mini tutorial with you for a flower I created recently.  I was a bit of an experiment but I loved the finish!

I used the super sized flower punch and punched out a flower in a patterned paper.


Step 1 - fold the flower in half, open, turn it a fraction and fold again.  The aim is to make sure each petal and each gap between the petals have a fold.  (see image below)


Step 2 - After completing all your folds you now need to fold in half and then in half again (it doesn't matter which way round the paper is or whether the first fold was through a petal etc)


Step 3 -  cut off the corner (I cut off about 5mm diagonally)


Step 4 - Create valley and mountain folds all around your flower.  Here I made all the folds in the petals mountain folds but it looks just as great the other way round!


Step 5 - I used the next size down flower punch and punched out a flower from scrap paper. (Your not going to see it)  Cover in tape and glue! (I think glue dots or even hot melt glue would work even better)


Step 6 - This is a little tricky and if you have punched out a smaller flower quite fiddly!)  you need to push all your petals in at the same time, this will close up the hole you created.   Stick this on the scrap flower covered in glue....beware, you need to hold for a while!  I found that as the flower naturally wants to return to its original shape you need to make sure the glue is set first!


Step 7 - I put some extra glue in the centre (just to be sure) and then stuck a very tiny flower over it to hide the joins!


Hey pretso!  a really cute 3d scrap flower!  Great for using up oddments!


Here is another flower I created!  this one has valley folds in each of the petals!


Hope you love making these little flowers of mine.  For an experiment I was really pleased!

Good luck!  

Well off to Handmade harbour as always for a lookie at what everyone has been up to.

xxx

Wednesday, 15 October 2014

Exploding box card tutorial

I thought I would share a new tutorial with you, I am doing this as a workshop on Friday and figured this would be a good opportunity to share it with you all.

Exploding pop-up card


Step 1 - For this tutorial I started with a 12x12" sheet of double sided scrapbook paper.  I firstly cut down my sheet to 29x15cm.  I put the rest to one side ready for later on.  Next you need to mark out 4 lines 7cm apart, this will leave a 1cm strip at the end.  (I have used pen here so you can see, I suggest that you just score the lines as you will need to score them anyway.  If you need lines maybe use a pencil)


Step 2 - Fold along each of the lines you drew in step 1.


Step 3 - mark 15cm down the vertical edges.  Join these marks up although do not score through the section closest to the 1cm strip.  (see image above)


Step 4 - Cut down each of the 4 vertical lines down as far as the middle line your scored in the last step.  You can also cut out the top section of the narrow strip all together (this will be your tab)


Step 5 - Cut out 3 strips of 9x5cm paper


Step 6 - Mark 1cm in from both sides and fold like the above image.


Step 7 - Choose which side you don't want to see and put a strip of double sided tape along the top.


Step 8 - Attach your flowers, stems and leaves.  You will need to make sure they are all facing away from you as you are working on the reverse of your design.


Step 9 - Once you are finished attach a scrap of paper on top of the remaining tape so that it doesn't stick to something it shoudn't later on.


Here is the front for one of my panels.


Step 10 - place a strip of double sided tape along the left tab of one of your panels.  This needs to be a panel with the most height as this will be at the back of your card.


Step 11- Attach your panel, face down so the tab sticks approximately 1cm from the right edge of the second section in from the right.  The top of your panel needs to be level with the middle line you scored.


Here is the panel folded back on itself.


Step 12 - Repeat the last step with the next two panels.  I have put the front panel a little lower to hide the panels behind.


Step 13 - Attach double sided tape to the right side of each of your panels and the tab from your larger piece of paper.


Step 14 - Well fingers crossed this will work alright! You need to fold the larger piece of paper in half.  The panels inside will stick to the top section and the main paper tab will also stick to the top.


Now you can fold down three of the side panels (not the one that you didn't score, this is the back panel)


Here is the box opening up.


Ta Da!  I haven't quite finished this one yet, I still have the side panels to decorate but I'm getting there!


Sunday, 12 October 2014

Crafty What Nots

Well for those of you lovely people out there who read my blog you may have seen me hinting at my new release!  Well seems a good time to tell the world!  Well the part that read this that is!  I would like to introduce you to Crafty What Nots! 

Not that long ago I had a ponder! My ponderings were about craft (as they often are) and I wondered about how great it would be if you could get craft supplies sent straight to your door every month, and what would make it even better would be if you had no idea what was coming or the crafts you might learn as a result.  I had noticed subscription boxes reviewed on various blogs but hadn't seen one that appealed enough to me to buy.  I am not someone who likes a load of stuff that I can't use but when it comes to craft ... well you can never have too much! 

Each Crafty What Nots box contain around £20 of materials, a kit with instructions to make something as well as a personal handmade gift just for you. I am also very keen on upcycling and my boxes contain packaging you can use for crafts as well.  Each box comes in the largest large letter size possible to keep postage as low as possible while making sure there is loads of space for all the crafty goodies inside!
             
Handmade by Hannah
So with my general plan in mind it was time to see how viable it was.  So I managed to find a wonderful group of friends and bloggers to give my review box a go!  I gave out very little information beforehand to see what the general reaction was.  So far I have had some lovely responses back.  If you would like to see what was inside the 1st box then do pop over to these fab blogs for a peek inside.

Glitter and Sewon
Dainty and Ivory

I have now had some great interest in further boxes so had to have a rearrange of my website to include a 'Crafty What Nots' section where you find out more about them, buy more materials if you wish or even subscribe or buy one off boxes.


Inside each box is also an inspiration sheet with just a few ideas of things you could make.


And if your wondering why 'Crafty What Nots'?  Well I am a Pooh Bear fan and loved Eeyore's pot for what nots and etcs.  I already create journals called 'And Etcs' so a box full of What Nots seemed a fab idea!

Well if you fancy getting the November box I am extending the deadline to the 20th October (cut off dates are usually the 15th of each month but as this is the first proper month I thought I would extend)  Each box is £12.50 plus P&P (cheaper if you buy 3 or 6 months)  The next box is Winter Wonderland!'

I will be popping by Handmade Harbour to see what some lovely bloggers have been up to, so do pop along for a dip!

Monday, 6 October 2014

Tissue paper Pom-Pom tutorial

Just thought I would pop this little tutorial on.  I was having an experiment the other night to see what I could make from some tissue paper!  I made these gorgeous paper pom-poms!


First you will need a standard sheet of tissue paper, some string or twine and scissors.  An ink pad is optional.


Step 1 - I used half the sheet of tissue paper, so cut in half and put the other half aside.  First off you need to fold your tissue paper in half width ways


Step 2 - fold in half again


Step 3 - Fold in half again!


Step 4 - now fold your tissue paper the other way to make a smallish rectangle


Step 5 - you now need to concertina fold your tissue paper up, each fold should be between 1-2cm


Step 6 - Tie your thread around the middle of your tissue paper.  It doesn't need to be too tight as it will easily hold it's shape later on.


Step 7 - Cut the ends into points like below


Step 8 - Gently open out one side of your concertina and ease one layer back towards the middle (this can be quite tricky.  Don't worry too much if is tears as this shouldn't be too noticeable.


Step 9 turn your piece over and repeat on the other side.  Reapeat this until one half of your concertina is fully opened up


Step 10 - Now repeat on the other side, making your pom-pom.  If you used ink you should be able to see a coloured tinge to the edges.  Unfortunately for my demo I used a really light colour which didn't show up too well.  I tried with a darker one and that worked far better.


I think I may make pom-poms from all my tissue paper now!  I love ideas for recycling packaging.  No shoe box will be safe!

xxx


Sunday, 5 October 2014

Handbags and Man Bags tutorial

Handbags...Now you can never have too many can you! Well possibly not if you are of the male persuasion! However even the man bag versions are sure to tempt, especially when filled with yummy treats!  I love making these bags and I ran several workshops last year to make these.  The wonderful thing about these bags is they open up to allow you to fill with sweets! (or anything little)  Fantastic for get well soon occasions, birthday or even thank you.  In fact I have even sold my jewellery in them!  A couple of years ago my daughter decided she had to make 19 of them to give as presents for her teachers, I had had enough of them after about 9 if I'm honest but they did look fab!

This little collection shows different sizes and styles (the Man Bag doesn't have a handle but instead has a tie attached to the lid.  Most of the boxes here are made using 12x12" paper (from the first edition ranges as these are thicker and great quality)  The smallest bag is using 6x6" paper.   I have even made one using 6x6cm paper! (you couldn't fit anything in it though)


This week I launched my Crafty What Nots to reviewers (more about that next time) and one of the crafts included was making a handbag and thought it would be a great opportunity to share this tutorial which I have wanted to do for some time!

Handbags

Step 1 ~ Take a sheet of paper.  I usually prefer 12x12" but you can use any size really.  For a first go I suggest a square sheet between 6" and 12".


Step 2 ~ dived your sheet up into 9 equal squares.  I have draw lines to show you but it looks better if you just score them rather than draw them.  You will need to score your lines anyway, if you don't have a scoring tool use the blunt edge of a pair of scissors.


Step 3 ~ Measure the center of the top and bottom edges.  Starting with the top edge score a line from the central point you just marked to one of the corners of the centre square, then to the other corner to create a triangle.  Repeat on the bottom edge.  The image shows the two triangles.  The next thing you need to do is mark out some tabs. (these can be draw as you won't see them).  I marked a line, about 1cm, along the edge in the corner boxes next to the triangles.


Step 4 ~ Cut out the four corners.  Make sure you cut the bottom of the tabs for later.  Next fold all your lines.  (I suggest using a bone folder, lollypop stick or ruler to make the folds really crisp.)


Step 5 ~ Turn your paper pattern side up (or if you used double sided paper, the side you wish to be on the outside of your bag)  Now attach double sided tape to the tabs.  I have found a great tip with double sided tape is to add a few dabs of tacky glue to the top of the tape.  It adds some extra strength, especially if your tape looses it's stick after a while.


Step 6 ~ Taking one tab at a time stick them to the edge next to them to create this open box shape.


Now we have created the base it is time to do the lid.
Step 7 ~ You need to cut a square of card the same width as your box base.  If you used 12x12" paper for example your card should be 4" wide.  I usually make the lid a square but once you have had a few goes you could play around with sizes.


Step 8 ~ Mark halfway along your lid.  Again I have draw the lines below but you could just score them so you don't see the lines.  Once you have scored your paper in half mark another line 1cm to the right of it and score again.


Step 9 ~ Fold your lines 


Step 10 ~ Cut a strip of card, 1cm wide. The length should be double the width of your lid.  You can also use ribbon if you wish.  (If making a Man Bag you won't need this.)


Step 11 ~ fold the ends of your thin strip in (about 2cm) and stick these with double sided tape in the narrow section of your lid.


Step 12.  Attach a couple of strips of double sided tape to the smaller of the outer sections of your lid and fix to the back of your box.


Step 13 ~ Get creative! (the keen ones among you may notice that I had already done this before the last couple of steps.  
For my bag I used a border punch and attached a strip of paper and a few flowers.  (A very understated bag) I also sometimes pop a small card inside with matching embellishments.


How about a bow tie? The top right box here  is made using 12x12" paper but by making each corner square 5".

You can experiment with shapes.  The basic rule is that the four corner squares always need to be the same size square but you start with different dimensions of paper, ie 8x4" sheet of paper with 2" square in the corners. 


This adorable bag was made using 12x8" paper and making a 3" square in each corner.

I made the lid by cutting a scoop shape by hand and then using a mini hole punch to make little hopes along the edges. ( I even put little brads in the four corners of the base so it looked like a posh bag!)

Anyhow, I hope you enjoyed and manage to make lots of bags!  There will be a few Christmassy themed ones coming soon!

Off to Handmade Harbour to check out some crafty greatness! 

xxx