Showing posts with label Handmade Monday. Show all posts

Monday, 28 September 2015

Christmas... already?

How are you all this week?  Do you feel those Christmassy feelings of warmth and goodwill sweeping over you yet? The burning desire to get the tinsel out and the mulled wine cooking? No?? Well who can blame you, Christmas is fast approaching but with some lovely sunny days I must admit I am being consumed by Autumn loveliness! The stunning autumn colours and the falling leaves.  All that aside however as a crafter we have to think about Christmas far too early.  I know many who have been making since way before the school holidays!  I thought I would share my latest Christmas venture with you all.

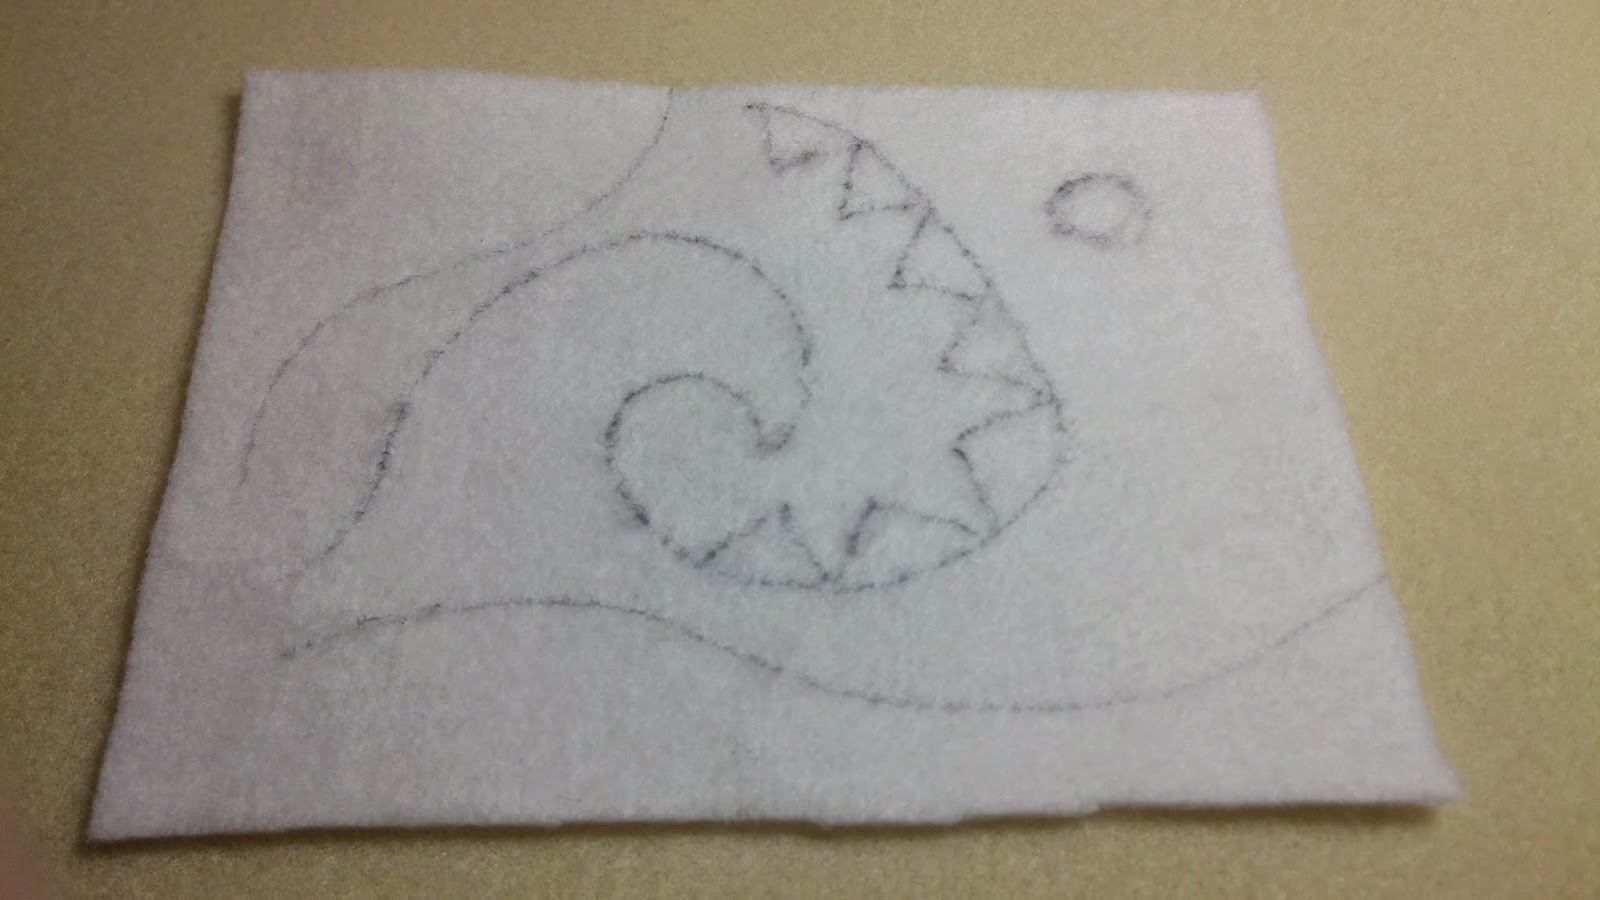
I was introduced to Christmas Eve boxes a few months back. It seems something that originated in America and goes hand in hand with the 'Elf on the Shelf'.  Don't worry if you are new to Elf on the Shelf too.  The general idea in a nutshell, is you have a small toy elf who arrives on the 1st December.  He watches your children everyday and reports back to Santa every night to tell him if they have been good or not! When the elf returns in the morning he gets up to a little mischief.  He may spill cereal all over the counter or tie your shoe laces together etc. (this is where parents have fun and get creative!)  Then on Christmas Eve the elf leaves to go and help Santa sort out the toys and load the sleigh.  When the elf goes he leaves behind a Christmas Eve box, a box full of treasures.  Usually these treasures seem to consist of a Christmas film, book, slippers, new pyjamas and a few yummies to enjoy while watching your film.  Well my pondering took me to... what if the Christmas box contained lots of crafting goodies!!! How about instead of being full of food and dvd's etc that it contained tutorials and craft supplies to create some Christmas crafting memories.  So I give you the Crafty Night Before Christmas box!


Each box contains at least three tutorials, all the crafty supplies you need to complete them and lots extra and a small handmade gift from me to you!  I have designed 4 different boxes based on ages.  There is the under 5's, 5+, teenager and adult.  I am also more than happy to personalised.


Well I'm off to carry on planning my boxes. If you want to found out more or take a peek at my brand new kit box v visit www.craftywhatnots.com

I'm stopping off to visit all those lovely blogs at Handmade Monday so why not pop over and see what others have been up to.
 Xxx


Monday, 31 August 2015

Quick Crafty Card tutorial

Good morning to you all!  How have you been surviving the school holidays? I have certainly found three children quite the handful, especially as my middle one is still trying to adapt to having a baby sister taking up so much of my time!!

I thought I would share a little summery tutorial with you today.  Have a go at making this cute and super easy card!


Step 1 - You can use any shape card, I have chosen a square one here.  First thing you need to do is place a strip of double sided tape approximately 1.5" in from the right side (making sure that your card opens up to the right side).


Step 2 - start to stick your flower embellishments along the strip.  You need to ensure that the side of the flowers go close to the edge but not go over it (mine here is a little close!), the top ones can go over the edge top and bottom.  


Step 3 - Make sure all the tape is covered (you can always add a little more tape and layer your flowers if you wish)


Step 4 - cut around the edge of your flowers, leaving a little border of white around the edge.


Why not add some ribbon or sentiment to finish off your card!!


In the wonderful world of Crafty What Nots I have just launched the 'Crafty Night Before Christmas box'  A Christmas eve box with a twist.  Just like the normal monthly boxes this one-off box is full of crafty goodies, tutorials and a special handmade gift.

Each box is sent out on the 1st December and is available in 4 age ranges - under 5, 5+, teenager and adult!!

So if you fancy starting a new tradition or after an unusual Christmas present for a loved one (or yourself!!)  Do pop buy and find out more!  I am also happy to ship internationally so if you would like a box but not in the UK don't fret (the postage is increased however as you can imagine!)


I am so excited about these boxes and been planning like made!!!

In other news I have been picking up the old pencil again and been making family portraits for some lovely people.  Here is the first one I did.  I am currently running an offer on these. 25% off the first five paid orders I have (there are only two slots left!!)


Well I am going to link up with Handmade Monday (something I haven't been able to do in ages!)
Have a lovely week folks xx

Monday, 16 February 2015

Fantastic felting tutorial

As promised here is a felting tutorial.  I have created 2 items, a mini piece of art and a 3d heart.  The mini art (of course that totally depends on your idea of art! lol) uses a piece of felt as a background.  the mini heart is a stand alone piece.
Felting on felt!


This is a little freehand creation I made.  It's great to practise techniques and quite quick to create too!


You will need a sponge (I used a cheap one for car cleaning (needs to be totally clean)) a piece of felt, a pen, a felting needle and of course lovely wools!


Step 1 - I drew a very basic design on my felt.  You could stamp an image on it if you would rather or just draw lines depending on how desperate you are to start and your artistic confidence.


Step 2 - take a small piece of your wool (you can easily add to it after) and lay it over the section you are going to start felting on.


Step 3 - grab your needle and start stabbing it!  Make sure each time you push the needle through that you are also going into the sponge!  Also make sure you are stabbing the area you wish to and most importantly don't stab your fingers!!!  The reason behind felting on a sponge is that you can then pull your piece away.  The wool doesn't attach itself in the same way that it does to the felt so once you have finished you can reuse the sponge again and again!


Here you can just about see how I am using the needle to trace around the line I drew earlier.  I decided at this point that I wasn't going to fill this wave section, instead I wanted to just trace around the edge.  If you run out of wool, just add more until you have filled the area you wish.


Here I have lifted up the felt so you can see what it is like behind!  It is all tufty but comes away from the sponge easily enough.


Step 5 - add your next colour.  Here you can just see that I have added a white to my wave section.  Make sure you stab all the wool!  


Step 6 - keep adding your colours.  You may notice that on my original drawing I had triangles going around one edge and a dot.  I decided that the best thing to do was to fill in the colours first and then add details on top.


Step 7 - add details.  Here I have curled up a tiny bit of wool and then plan to stab it until it is flat.


Here you can see I have also put in the triangles.  (these were a little ambitious if I'm honest! It's harder to create small straight lines like that but I am pleased with how they turned out.

3d heart
(Sorry the photos are a bit dark for this one.)


You will need a felting needle, wool, a sponge and a cookie cutter.  This cutter is a mini heart for cake decorating.


Step 1 - Fill your cutter with wool.


Step 2 - stab repeatendly (I realise all this stabbing sounds a bit out of place on a non-murder related post!  I couldn't think of a different word)


Step 3 - Once you think your piece has flattened well take out of the cutter and see how the back is.


The back of mine was very tufty so I put it back in, this time the wrong way round and repeated the stabbing process.


Eventually I was happy with both sides!  Here it is all finished and removed.  I could then give it to my valentine!

I have created another little felty project but can't show you that one yet so will save that for another day!  

In other news this week, I have been making quilling papers for a One-off Crafty What Nots box!  Aren't the colours just so wonderful!!!


Hope you have been having a wonderfully creative week and if you fancy winning a Crafty What Nots box why not pop over to my facebook page  to enter my giveaway. 

Well I'm off now to explore other crafty blogs at Handmade Monday!
xxx