Showing posts with label pyramid card. Show all posts

Tuesday, 18 November 2014

Craftea Afternoons ~ Festive Pyramid cards!

Well what a busy week!  I have been busy getting ready for this months Craftea Afternoon workshop.  This month we are making Pyramid cards with a festive twist!  Each card contains a secret compartment to fill with sweats and goodies (I forgot to take a picture of this part tho!!!! typical!)


Here are a couple of my samples!  The arms velcro together in order to keep the card standing.  The wonderful thing about these cards is that you can fold them flat to post (great if you aren't including sweets! unless you flatten them too!)


These are the lovely cards made by my very clever ladies!  Aren't they beautiful!  So much creativity!

If you would like to have a go at making a standard pyramid card then here is one of my tutorials.

Sorry it's so short today! Hope you are all well and had a creative week!  I shall be popping by Handmade Harbour as usual to see what some fellow bloggers have been up to so please do pop by and say hi!

Monday, 26 May 2014

Crafty challenge

 Well happy Monday to all you crafty people, and if your not crafty... well lets face it we are all a little creative!  It may not be with paper and card, glitter or fabric but everyone has a bit hidden in there somewhere!  This week I decided to set myself a creative challenge.  I bought this lovely pad of first edition papers and wondered what could I use it for!  I am sure I not alone in this, often I buy things thinking 'I can't live without that'  but when I get it home I am not at all sure what to do with it.  Crucial craft items get saved for a rainy day and end up collecting dust in the ever expanding universe, that is my craft room!

Here is the pad I bought, 'Desert Blooms'  isn't it just gorgeous!


Well my challenge was to see how many things I could create from this one pack!  Here is what I made....What do you think?  


I made a total of 23 items.  I even had a load of scraps left over so I am sure I could have made a few other bits.  

Here are close up's of my creations. 


               1, Smash book                                  2. Note pad                                  3.  Sticky note folder
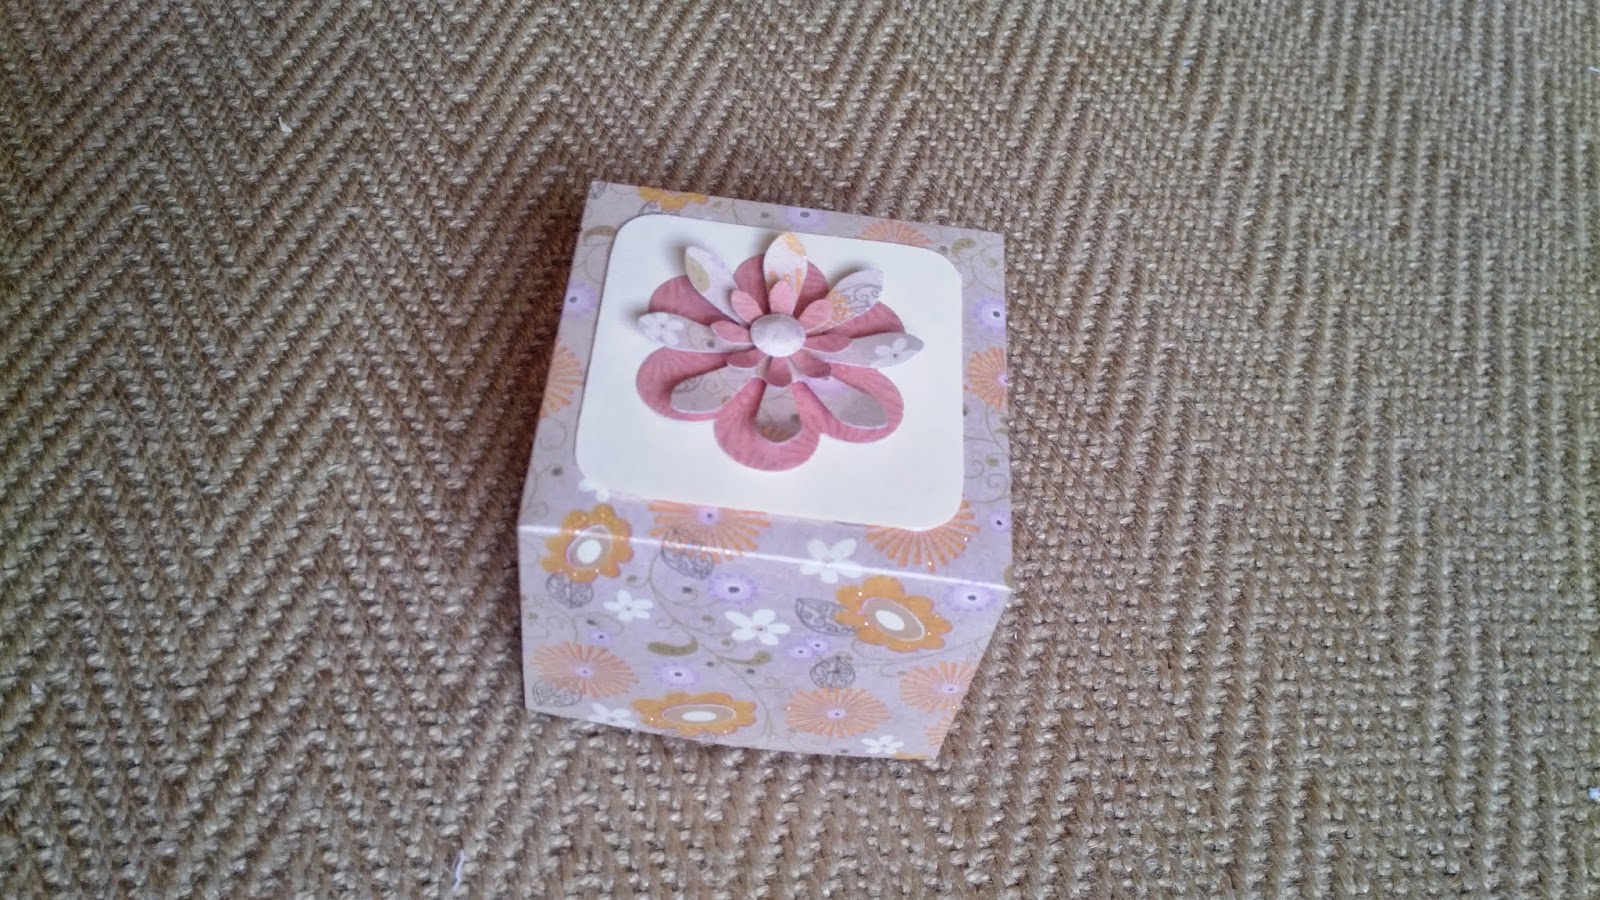


   4 Box


 5. Handbag gift box


6-11.  5 mini greeting cards in a box


12.  Pyramid card


Here is another view and below is how it looks flat for posting.


13.  Origami box


14.  Exploding box


Inside box and detail.  The inner flowers bounce around as the box is handled!


15.  Mini album.  Once opened it opens out like below and leave space for 4 mini photos, or some journalling.


16.  Box card.  Here it is open.  It can be folded flat so it can be posted.


Folding the box card flat 


17.  Origami mini album


the album opens up to reveal spaces to journal as well as tabs for photos.


18.  Origami secret note.  Here it is totally folded and secure


open the first layer to reveal a pattern


open it further to reveal the secret note!

19.  Treat pouch.  I didn't take a close up pic of this one or 20-23 heart keyrings.  The keyrings are the only thing that weren't quite finished but I was far too impatient to take a photo and blog!

Below is all the paper I have left!  There are 3 full sheets in there and the rest is mainly just scraps. 


Anyone fancy a challenge like this??? 

Monday, 12 May 2014

Pyramid card tutorial

Well happy Monday one and all!  And have you been creative this weekend?  I have made a couple of necklaces, but apart from that it has all been family time.

I thought I would kick off this week with a crafty card.

Pyramid card


This card is just so very easy and looks so effective!


1.  Take a 12x12" paper (single sided will be fine with this project.)  I would advise using a thick type.


2. Cut your sheet into four 6x6" squares.


3.  Fold 3 of the squares in half diagonally.  Make sure the folds are crisp.


4.  Place two of the squares like the image above. Now stick in place.


5.  Now attach the third folded square so they look like the above image.


6.  At this point either attach a magnet or velcro strip to the top left corner on the back like above.


7.  Turn your piece over and attach the other magnet or velco in the position indicated above. 


Here is a close up of where the fastening needs to be attached.


8. You should now be able to fold your piece so that it sits up like above.


9.  Now get creative!!!  I used the last piece of paper and a few other coordinating papers to decorate the front.  I stamped Happy birthday on the front and then using my punches I punched out flowers and layered them up.


So you have somewhere to write your message I put a plain panel on one of the other sides of the card.

This card can now be undone and folded flat (possibly not flat enough for a letter thickness I'm afraid but certainly fine for a larger letter if you haven't gone too mad on the embellishments!)

I found 6x6" squares actually created a large card so would recommend trying with 3" or even 4" squares.  The advantages of a bigger card however is you can cover it in many more embellishments!

Nearer Christmas I will hopefully show you how to turn this into a Father Christmas treat box to fill with sweets!

Good luck with this one!


xxx