
After so many of you liked my last post I thought I would share a little tutorial with you to make this really cute candle holder.

As it's so close to Easter I chose some Easter papers!
To make this candle holder you will need ~

A wooden blank, Deco Mache papers, Deco Mache glue and a paintbrush.
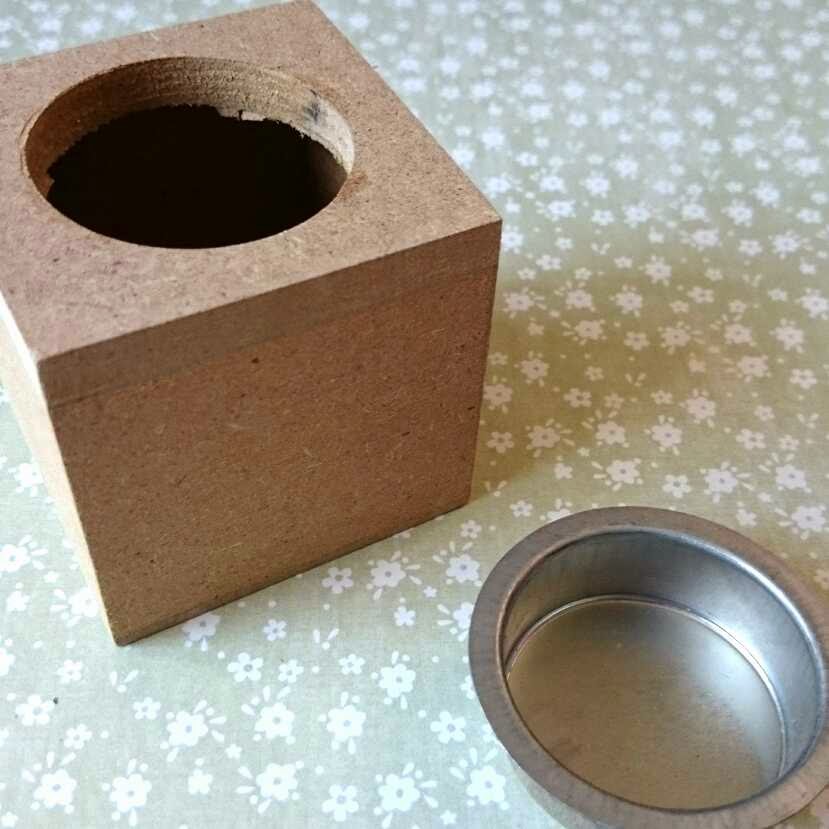
Step 1 - Remove the candle insert

Step 2 - Take one sheet of your paper (there are 3 in a pack) and tear it into little pieces (do not cut, the torn edges help the pieces stick better and blend more effectively)

Step 3 - Choose which side to start with and cover with glue. The surface of these candle blocks is quite porous so you may need a couple of coats of glue.

Step 4 - Start to stick your pieces down. Every time you add a piece cover in glue (don't go too made though or it will buckle the paper)

Step 5 - Cover the side with paper. As you can see I have overlapped the paper so that all the edges will be covered.

Step 6 - when you encounter corners my top tip is to place your piece so that the edge of a piece sticks right up to the point like this image. You don't want to have too much paper to fold over so this way you will get a neat fold.

Step 7 - turn your block around and start to work on the next face. Here you can see the edges from the side I just completed hanging over.

Apply glue and stick the edge pieces down first.
Step 8 - cover this side and then work your way around the cube. Don't do the top or bottom yet.

Step 9 - I used the metal candle cup as a stand for my holder to dry. This will also stop the papers curling underneath and sticking where we don't want it before we are ready.

Step 10 - Once the sides are dry start to stick the top edges down and then add pieces to cover. It doesn't matter if you aren't too neat around the hole as this will be covered by the cup.

Step 11 - Place your candle cup in place. This will also protect the top while you work on the bottom. (you may need to bash it a bit ( something large and flat so you don't get dents in the cup. this one fitted in quite easily but the butterfly ones in a previous post didn't so needed persuasion!)

Step 12 - When working on the bottom I made sure that I didn't cover the warning label. I did consider trying to remove it and then put it on after but was worried it would tear. I also considered covering it completely but thought Warnings should be left to be read so I papered around it!

Lastly just let it dry completely before using!
I do have a few Deco Mache supplies in stock if anyone is interested.I don't have much in stock but I can get hold of some lovely papers and blanks to decorate, please don't hesitate to ask if there is anything you would like. Click here for a link to what I currently have in stock.
Well I hope that you have a wonderful Wednesday!
xxx
No comments:
Post a Comment