Felting on felt!




This is a little freehand creation I made. It's great to practise techniques and quite quick to create too!
You will need a sponge (I used a cheap one for car cleaning (needs to be totally clean)) a piece of felt, a pen, a felting needle and of course lovely wools!
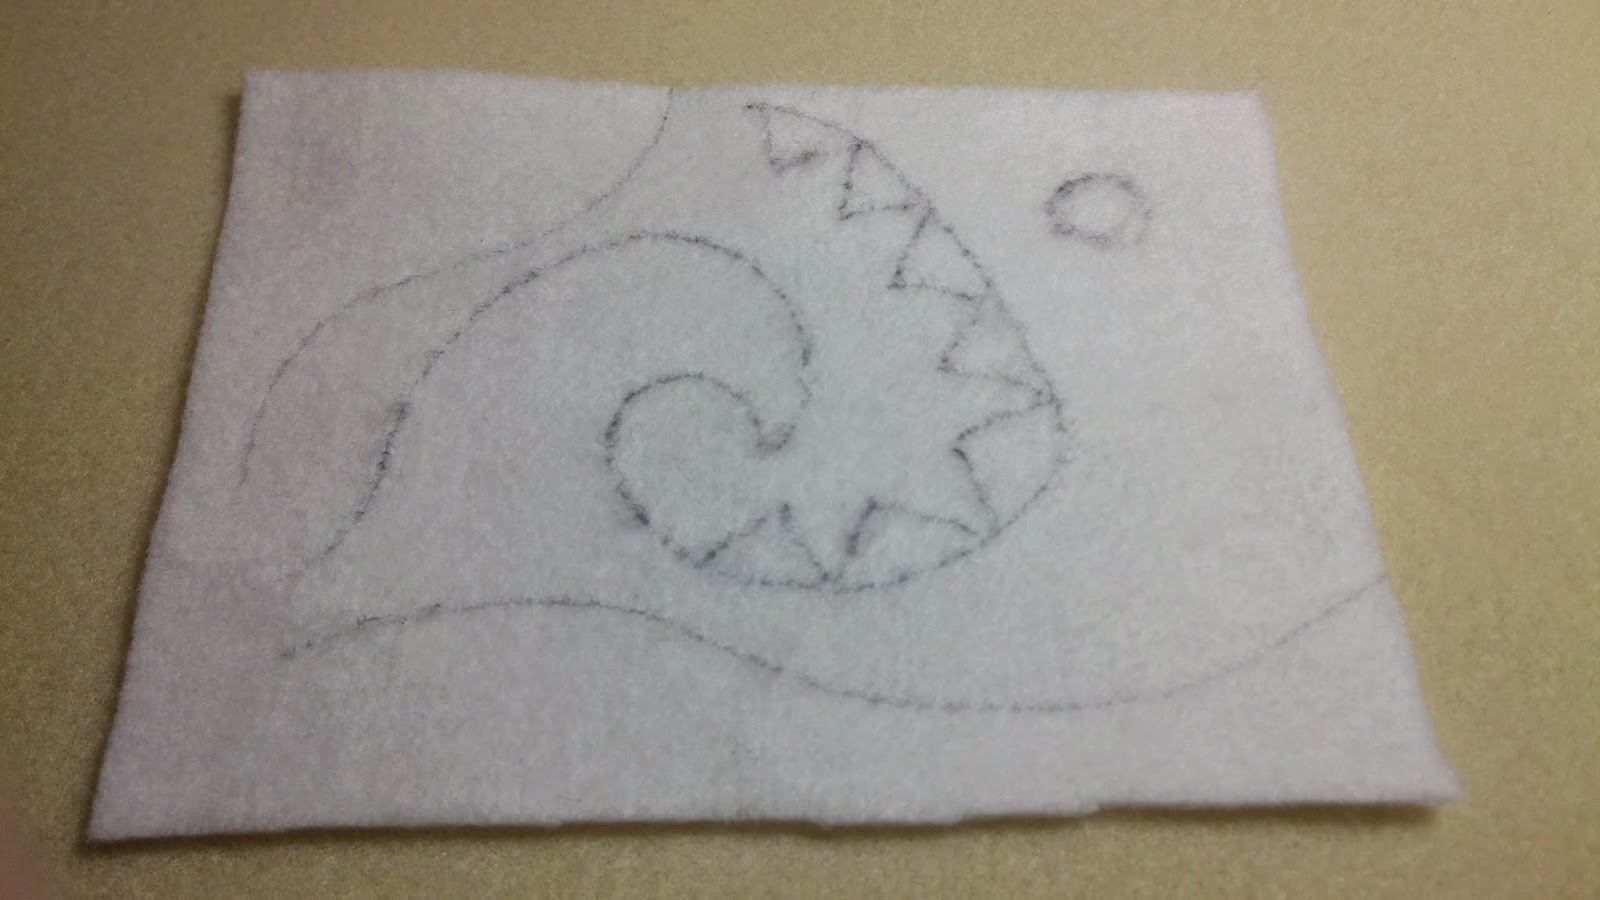
Step 1 - I drew a very basic design on my felt. You could stamp an image on it if you would rather or just draw lines depending on how desperate you are to start and your artistic confidence.
Step 2 - take a small piece of your wool (you can easily add to it after) and lay it over the section you are going to start felting on.
Step 3 - grab your needle and start stabbing it! Make sure each time you push the needle through that you are also going into the sponge! Also make sure you are stabbing the area you wish to and most importantly don't stab your fingers!!! The reason behind felting on a sponge is that you can then pull your piece away. The wool doesn't attach itself in the same way that it does to the felt so once you have finished you can reuse the sponge again and again!
Here you can just about see how I am using the needle to trace around the line I drew earlier. I decided at this point that I wasn't going to fill this wave section, instead I wanted to just trace around the edge. If you run out of wool, just add more until you have filled the area you wish.
Here I have lifted up the felt so you can see what it is like behind! It is all tufty but comes away from the sponge easily enough.
Step 5 - add your next colour. Here you can just see that I have added a white to my wave section. Make sure you stab all the wool!
Step 6 - keep adding your colours. You may notice that on my original drawing I had triangles going around one edge and a dot. I decided that the best thing to do was to fill in the colours first and then add details on top.
Step 7 - add details. Here I have curled up a tiny bit of wool and then plan to stab it until it is flat.
Here you can see I have also put in the triangles. (these were a little ambitious if I'm honest! It's harder to create small straight lines like that but I am pleased with how they turned out.
3d heart
(Sorry the photos are a bit dark for this one.)
You will need a felting needle, wool, a sponge and a cookie cutter. This cutter is a mini heart for cake decorating.
Step 1 - Fill your cutter with wool.
Step 2 - stab repeatendly (I realise all this stabbing sounds a bit out of place on a non-murder related post! I couldn't think of a different word)
Step 3 - Once you think your piece has flattened well take out of the cutter and see how the back is.
The back of mine was very tufty so I put it back in, this time the wrong way round and repeated the stabbing process.
Eventually I was happy with both sides! Here it is all finished and removed. I could then give it to my valentine!
I have created another little felty project but can't show you that one yet so will save that for another day!
In other news this week, I have been making quilling papers for a One-off Crafty What Nots box! Aren't the colours just so wonderful!!!
Hope you have been having a wonderfully creative week and if you fancy winning a Crafty What Nots box why not pop over to my facebook page to enter my giveaway.
Well I'm off now to explore other crafty blogs at Handmade Monday!
xxx