Showing posts with label gift. Show all posts

Sunday, 23 October 2016

Quarterly Craft Box

This quarter I have decided to try something a little different.  Rather than the next quarterly box being a mystery I will be releasing images daily of items that will be found within it! Eeeek!
I have been having lots of ponderings about my boxes and was thinking seriously about  stopping them altogether.  But before I hand in the crafty box ticket I thought I would try something a little different.

I was thinking about what people want to buy, do you guys really want to spend £40 on a box of stuff that you have no idea what's inside other than it will contain 4 craft kits and a few gifts? Well of course not! Let's face it, nowadays you want to know what your getting and although there are some very successful mystery boxes out there on the market, crafters, it seems aren't as interested in Crafty What Nots boxes as I had hoped.

So the Winter box (or the Snuggle box as I like to call it) is an exciting box where you will know exactly what your going to get.

Another exciting element of the box is that it is a collaboration among 10 small businesses!  So there is such a big variety (in fact I found it very hard to stop buying lovely things to put in!)
Here is an image of all the businesses taking part.


Everyday on my page I am doing a countdown.  So far we are at day 17.  Here you can see some of the things included in the box.  So far we have...
Pom pom pen
fudge
heart charm keyring
oil burner and wax melts
wooden heart embellishments
pretty ribbons
bunny ring
felt making kit

Other items will follow so if you would like to be kept up to date and find out what is in the next box then do visit either my Facebook page here or Instagram here


The countdown will finish a week before the order books close.  There are only a small limited number of boxes available so do let me know if you are interested to avoid disappointment.
I am also more than happy to set up a payment plan.

I do hope you have a great week and fingers crossed I will be back again next week.
I will be sharing my blog over at Handmade Monday, My fav place to be after the weekend.

Jen xx


Thursday, 29 May 2014

Clever Keyring tutorial

I thought I should show you how to make those keyrings from my latest fab challenge!  I know I hadn't finished them then, but now I have!

I made 4 in the challenge but only made up two key rings so far.


Step 1.  I used a small wooden heart.  I got a pack of them free with a magazine once but they are easy enough to find in the shops.  Wooden shapes are ever so popular.  I would go for simple shapes though, you will see why soon.


2 Using runny glue such as PVA or Modge Podge glue your wooden heart to your chosen paper.  Once this has dry cut it out carefully and then repeat on the other side.  Before sticking the second side on I recommend that you push the hole through.  I didn't on my first go and it was ever so difficult to find through the paper.  Once other side is dry and cut out take some sand paper or a nail file and file around the edges so that they are smooth and there are no loose bits of paper overhanging.
3.  You need to cover your piece in glue.  I pin them to a cork board to do this (you can see previous drip marks from the varnish stage!) I use pins through the holes to attach them so there is as little surface area as possible in contact.  I don't want them sticking to the board.  Once dry I suggest varnishing.  It makes it far more weather proof.
4.  This picture shows you what you will need.  I found some very thin cord (again a free gift with something) and a keyring.  I bought a pack of cheap keyrings for £1 and jut removed the split rings.


5.  I threaded 2 thirds of the cord (around 20cm) through the hole and tied a tight knot.
6. Keeping the shorter part of the cord pulled straight I used the longer thread to make the knot.  I looped it under the short piece and then took it over and back down through the loop I had made.  
7.  I then went on to repeat the same knot again and again.  as you go on the knots twist around in a nice way.  I kept going until both lengths were the same.


8. I tied one last strong knot, this time not keeping the shorter length straight.
9. I put the ring over one of the lengths and tied a strong knot
10.  After knotting the ring on I then did several knots under the ring around the knots I did earlier.


11.  Lastly I put a few knots in the ends and trimmed them to a length I wanted.  You could thread some beads on (I couldn't find any easily) or you could do some clever inventive knot so you disguise the ends.  Alternatively you could use some jewellery findings and not do any knotting at all.


Here are my finished keyrings.  I ended up layering two together which I really like.  For that one i just did random knots and didn't worry about a pattern at all.

Well it's over to you! your turn to give it a go.

happy crafting everyone 
xxx

If you would like to make these for yourself  I used :
Desert Blooms paper pad click here to see shop

I also used free gift wooden blanks and mod podge.


Monday, 26 May 2014

Crafty challenge

 Well happy Monday to all you crafty people, and if your not crafty... well lets face it we are all a little creative!  It may not be with paper and card, glitter or fabric but everyone has a bit hidden in there somewhere!  This week I decided to set myself a creative challenge.  I bought this lovely pad of first edition papers and wondered what could I use it for!  I am sure I not alone in this, often I buy things thinking 'I can't live without that'  but when I get it home I am not at all sure what to do with it.  Crucial craft items get saved for a rainy day and end up collecting dust in the ever expanding universe, that is my craft room!

Here is the pad I bought, 'Desert Blooms'  isn't it just gorgeous!


Well my challenge was to see how many things I could create from this one pack!  Here is what I made....What do you think?  


I made a total of 23 items.  I even had a load of scraps left over so I am sure I could have made a few other bits.  

Here are close up's of my creations. 


               1, Smash book                                  2. Note pad                                  3.  Sticky note folder


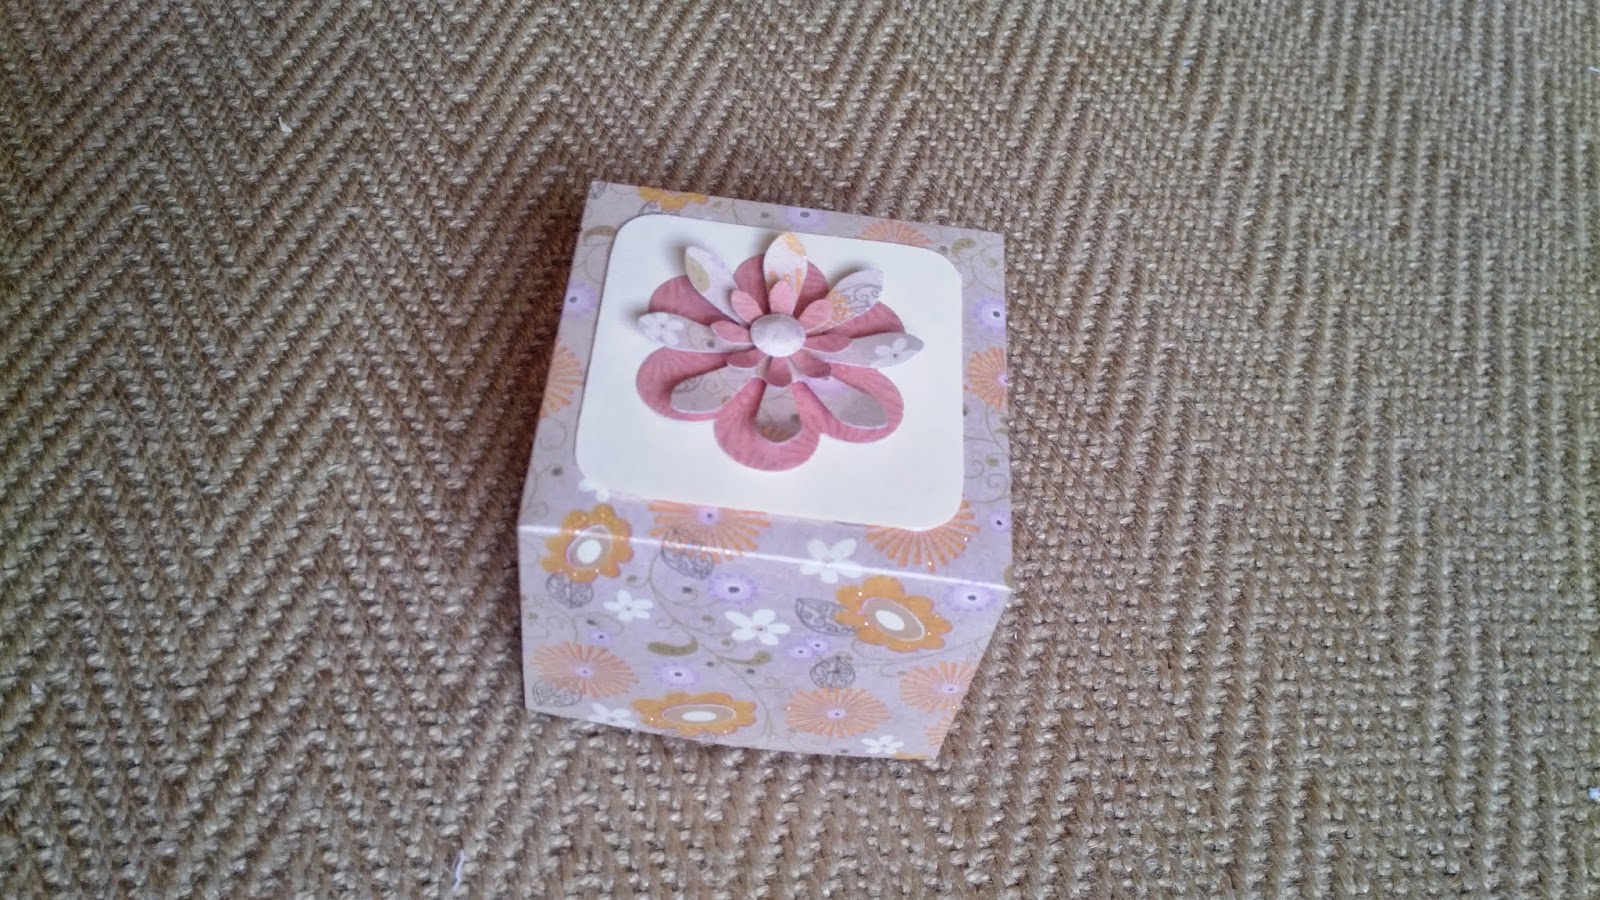
   4 Box


 5. Handbag gift box


6-11.  5 mini greeting cards in a box


12.  Pyramid card


Here is another view and below is how it looks flat for posting.


13.  Origami box


14.  Exploding box


Inside box and detail.  The inner flowers bounce around as the box is handled!


15.  Mini album.  Once opened it opens out like below and leave space for 4 mini photos, or some journalling.


16.  Box card.  Here it is open.  It can be folded flat so it can be posted.


Folding the box card flat 


17.  Origami mini album


the album opens up to reveal spaces to journal as well as tabs for photos.


18.  Origami secret note.  Here it is totally folded and secure


open the first layer to reveal a pattern


open it further to reveal the secret note!

19.  Treat pouch.  I didn't take a close up pic of this one or 20-23 heart keyrings.  The keyrings are the only thing that weren't quite finished but I was far too impatient to take a photo and blog!

Below is all the paper I have left!  There are 3 full sheets in there and the rest is mainly just scraps. 


Anyone fancy a challenge like this??? 

Wednesday, 7 May 2014

Exploding boxes tutorial


Wonderful Wednesday...what shall we make today????

Well today's tutorial is how to make an exploding box!  At fist glance it looks like a plain old box but....

...take off the lid and the inside opens out to reveal a cluster of flowers!


You could do all sorts and there are plenty of other designs out the if you search.  This tutorial is just to show you a two level box.


1.  This design only uses 3 sheets of paper.  I have chosen double sided for two of them (these will be the main box) and the third is super glittery!  All the sheets are from the same paper pad and measure 12x12".


2.  Start by measuring 4" in from each corner and then joining the lines up to form 9 even squares.  I have used a pen so you can see the lines but ideally you should either use a pencil or score directly onto the card so that you can't see it when you are finished.


3.  You now need to cut the four corner squares out.  You should be left with this cross shape.


4.  Next take your second piece of paper, this will be the inner box.  This will need to be smaller than the one we have just done so cut your 12x12" paper down to 9x9".  Now measure 3" in from each corner and score along the lines before cutting out the four corner squares like before.


5.  I used a corner punch to round my corners off but you could leave them pointed.  Turn your smaller cross over and attach double sided tape to the middle square.  Now stick the smaller cross into the centre of the bigger one like above.


6.  Now we will need to do the lid.  You will need to cut your paper down to  7 1/8" square.  Next step is to mark out 11/2" in from each corner.  Now score your lines (I have used pen so you can see them)


7.  You need to cut along 4 lines now, one from each corner and going along one edge of each corner square.  Fold all lines well.  Hopefully you should have something like the above picture.


8.  Turn your paper over so the pattern is facing you.  Each corner has now become a tab.  You need to use glue or double sided tape on each of the four tabs and then stick so that the lid is formed like above.


9.  Now get creative! let yourself go wild!  In this box you can see that I cut down the square sections of card I removed from the crosses, cut them down and stuck them on each cross (I turned them around for a coordinating colour)  I also used some of the card we dis-guarded to make flowers.   


I used thin acetate strips to make the flowers pop out in  centre and popped sticky gems in the middle of each flower.


In order to make some of the box panels stand up when open I curled up some card and stuck it behind two of the sections.  This means that when the box is open and sitting on a table it doesn't go completely flat, adding a little more depth.


For the lid I wrapped a ribbon around the edge and then stuck a layered flower in the centre over the seem.

Here are a few other exploding boxes I have made recently as a bit of inspirations.  


This box is filled with photos to flip through!


This box has 9 layers in all, the middle one also has it's own lid so you can hide another little treat in there!